

How to Fix Rotten Deck Boards: A Homeowner’s Guide
A deck is a wonderful addition to any home, providing a space for outdoor relaxation and entertainment. However, over time, exposure to the elements can cause deck boards to rot. Fixing rotten deck boards is essential to maintaining the safety and appearance of your deck. Here’s a simple, professional guide for homeowners on how to fix rotten deck boards.
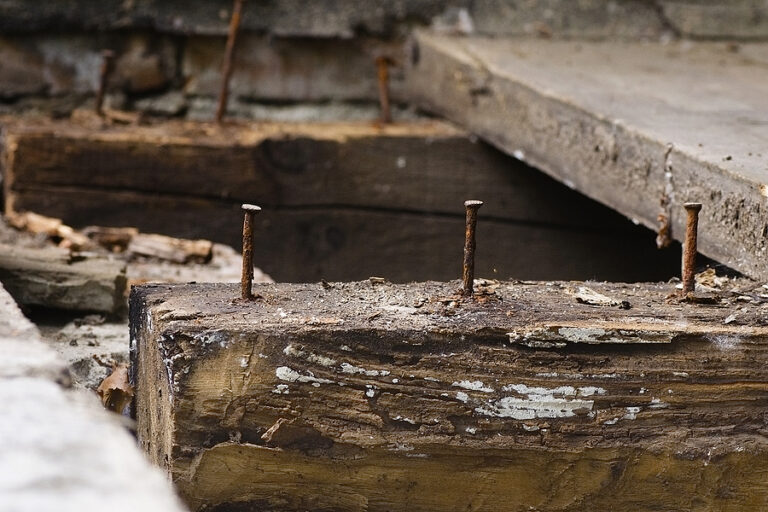
Step 1: Assess the Damage
Before you begin any repairs, you need to assess the extent of the damage. Walk around your deck and inspect each board. Look for signs of rot, such as soft spots, discoloration, or areas where the wood crumbles easily. Make a note of which boards need to be replaced.
Step 2: Gather Your Tools and Materials
To fix rotten deck boards, you’ll need the following tools and materials:
• Replacement deck boards
• Hammer or power drill
• Deck screws or nails
• Pry bar
• Circular saw (if cutting boards to size)
• Measuring tape
• Safety goggles and gloves
Step 3: Remove the Rotten Boards
Using a pry bar, carefully remove the rotten boards. Start at one end of the board and work your way along, prying it up from the joists. Be cautious not to damage the surrounding boards. If the board is nailed down, you may need to use a hammer to remove the nails. For boards screwed down, use a power drill to remove the screws.
Step 4: Prepare the Replacement Boards
Measure the length of the boards you removed and cut the replacement boards to match. It’s crucial to use pressure-treated wood or composite decking material for durability and resistance to rot. Once the boards are cut to size, lay them out on the deck to ensure they fit properly.
Step 5: Install the New Boards
Place the new boards onto the deck, aligning them with the existing boards. Secure the boards to the joists using deck screws or nails. Screws are generally recommended because they provide a more secure hold and are easier to remove if future repairs are needed. Space the screws or nails evenly along each board for a neat and secure installation.
Step 6: Check for Stability
After installing the new boards, walk around the deck to check for stability. Ensure that all boards are securely fastened and that there are no loose or wobbly boards. Make any necessary adjustments to secure the boards properly.
Step 7: Maintain Your Deck
Regular maintenance is key to preventing future rot and prolonging the life of your deck. Here are some maintenance tips:
• Clean the Deck Regularly: Sweep away debris and wash the deck with mild detergent and water to prevent mold and mildew buildup.
• Seal the Deck: Apply a water-resistant sealant or stain every few years to protect the wood from moisture.
• Inspect for Damage: Regularly check your deck for signs of wear and tear, including loose nails or screws, splintering wood, and rot.
Final Thoughts
Fixing rotten deck boards is a straightforward task that can significantly improve the safety and appearance of your deck. By assessing the damage, gathering the right tools and materials, and following these steps, you can replace rotten boards and keep your deck in excellent condition.
If you need professional help with your deck repairs, contact Property Pros at 765-400-PROS. Our experienced team is here to assist you with all your decking needs, ensuring your outdoor space remains beautiful and safe.